SpaceEngine and high resolution screenshots
Posted: 14/02/2015 Filed under: AutoHotkey scripts, Graphics, Software | Tags: 4096x2160, 4k screenshots, above max resolution, any game, autohotkey, bigger than screen, custom window sizes, force resolution, force window size, high res screenshots, open source, render, resolution, script, space engine, spaceengine, ultra hd screenshots, ultra-high-definition 2 CommentsScroll down for the instructions to capture high resolution screenshots exceeding your screen size.
If you’re here only for the AutoHotkey script to force window sizes click here.
Update 2016-01-11: In recent versions of SpaceEngine (V 0.973 or higher) you may encounter crashes with OpenGL error messages. Please see here on how you might counter these issues.
Background
I’ve been playing around in a game/simulator named SpaceEngine lately. It’s a simulator exploration game allowing you to travel parts of the known universe and beyond (via procedurally generated) galaxies, star systems and planetary terrain.
If you haven’t checked it out yet you really should! It doesn’t matter if your behind a desk dreaming of being an astronaut, fantasy/scifi stellar explorer extraordinare, a space nut or just mildly fascinated by pretty astronomy photos. It’s free http://en.spaceengine.org/
Special note to security nuts: Space Engine is not open source but I’ve been running version 0.9.7.1 and 0.9.7.2 and my whitelist firewall log hasn’t caught any attempt to even connect to the internet. Considering the large helpful community and experienced users involved in the project it would get some bad rep quickly if it started doing bad things.
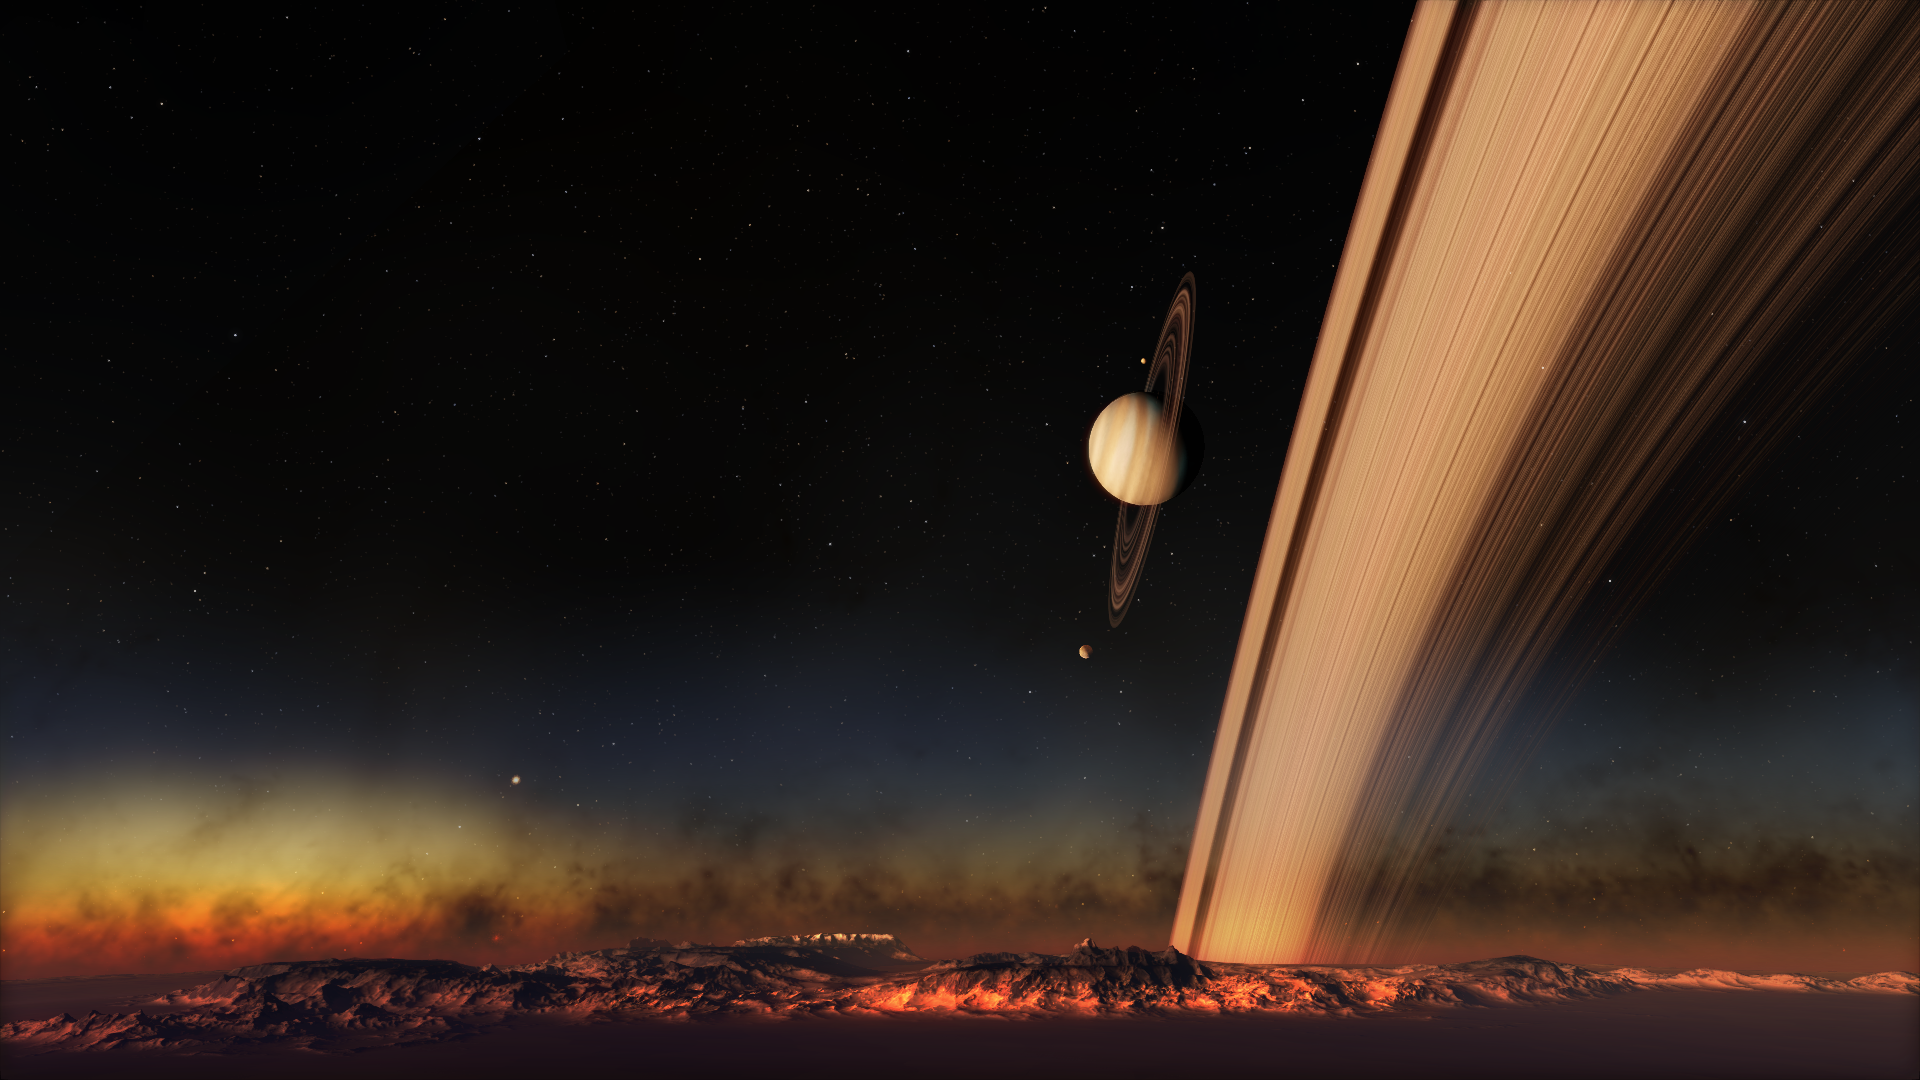
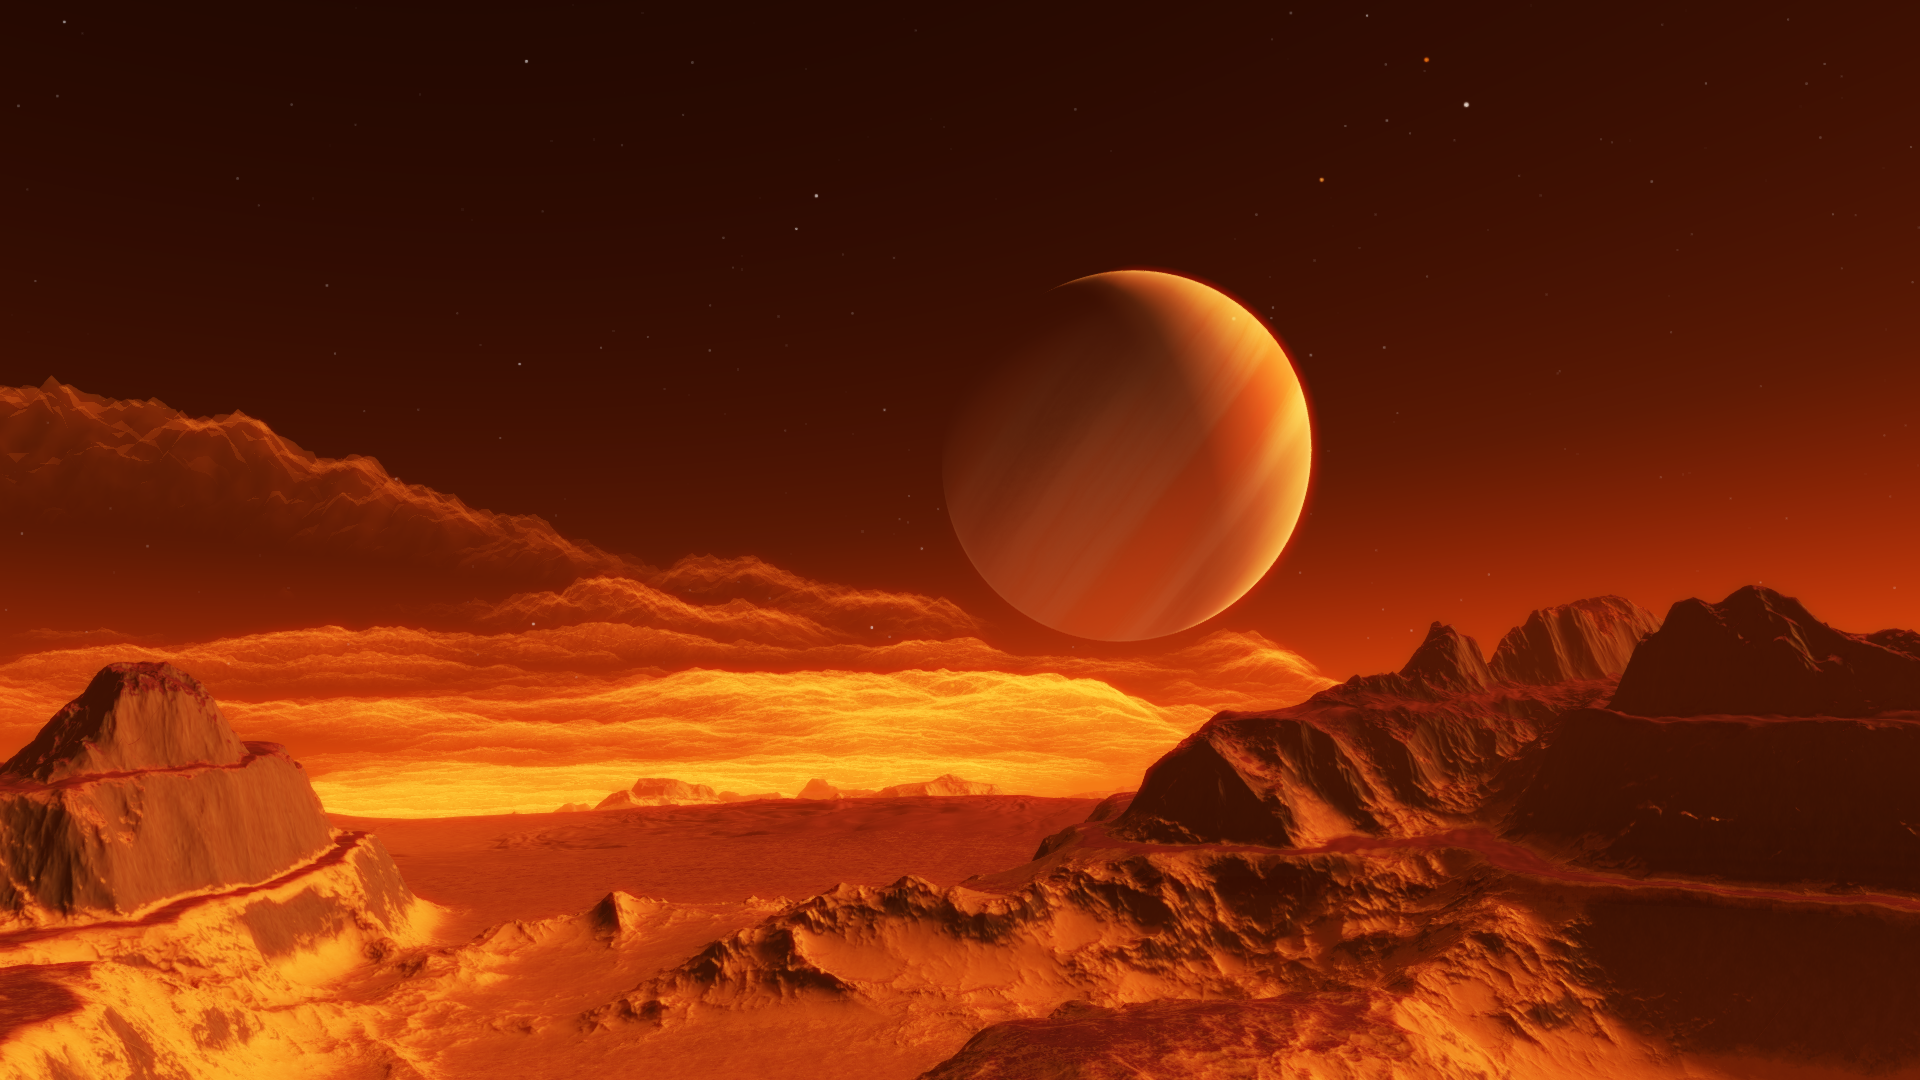
Continuing exploring… Spread across this post are some wonderful screenshots that I’ve captured so far. Unfortunately these examples are not all 4K images. 🙂
Taking regular screenshots in SpaceEngine is easy, press F11 to capture the screen without the GUI. The screenshots you capture will end up in this folder: \SpaceEngine 0.972\screenshots\

Setting the proper screenshot file format
Wait! Before you go on a screenshot frenzy there is an important option you need to know about. This option makes sure that the screenshots you save are stored in the best quality. This option is not available from inside the game GUI so you need to manually edit a text file in the config directory.
1. Browse to the following file from the place where you installed SpaceEngine:
\SpaceEngine 0.972\config\main.cfg
2. Open main.cfg it in a text editor like notepad or notepad++ and scroll down until you find this line.

3. Replace “jpg” with “png”. Save the file and restart SpaceEngine. Your screenshots will now be taken in high quality PNG image files instead of lossy JPEGs
In game configuration
To get more visuals out of your experience keep tinkering around with the settings in game. To open the settings menu move your mouse to the lefthand side of the screen for the menu to appear. Then click on the bottom cogwheel icon.
There’s also a hotkey by holding down CTRL and pressing F4 (CTRL+F4) which opens the graphics menu directly.
When exploring terrain on planets what you want to do is to increase the Level of Detail (LOD). Be careful changing this value; it will quickly eat up your graphics card memory and can cause freezes and crashes.
Avoid loosing your position after crashes by saving your location often using F6.
Want even greater visuals using higher resolution screenshots? Keep reading!
 Breaking the 1920 x 1080 barrier
After playing around in SpaceEngine as you might have noticed, you can’t capture screenshots higher than your screen max resolution. Not owning a real 4K monitor in order to do this you will require hacks or tricks to manipulate the program to do what you want. Now there are many different programs that can do this to other games or games in general. Some may contain malware or adware. Here is an alternate way using solely open source tools. AutoHotkey specifically.
AutoHotkey is a very versatile and portable scripting language for windows intended to help you with hotkeys, keyboard and mouse automation and moooore. Here are some instructions on how to use a basic script to force a window into any size that you want. Even sizes that exceed your monitor max resolution.
Beware however, forcing programs to do something they were never intended to do is risky. Expect them to crash or freeze; side effects may include hairloss, overfeeding or brain malfunction. (not really… maybe)
Before attempting the following; save your progress in all open programs first! You have been warned!
AutoHotkey script to force window sizes
This script will work for resolutions exceeding your monitors max resolution.
It’s written to toggle the size of the window that currently has focus whenever you press the key F12. You can change this key into anything you want by editing the following text in the script. For example changing the first line:
F12::Into:
^F12::Will toggle it when pressing CTRL+F12
+F12::Will toggle when pressing SHIFT+F12
^+F12::
Will toggle when pressing CTRL+SHIFT+F12.
Get it? The symbols represent modifiers on your keyboard. Feel free to read more about using AutHotkey hotkeys.
AutoHotkey 4096 x 2160 window size script usage instructions
1. Download and install AutoHotkey if you haven’t already.
2. Copy and paste the following into your favourite text editor. Or download the script here (mirror) (Right click and select save as)
F12::
WinGet, TempWindowID, ID, A
If (WindowID != TempWindowID)
{
  WindowID:=TempWindowID
  WindowState:=0
}
If (WindowState != 1)
{
  WinGetPos, WinPosX, WinPosY, WindowWidth, WindowHeight, ahk_id %WindowID%
  WinSet, Style, ^0xC40000, ahk_id %WindowID%
  WinMove, ahk_id %WindowID%, , 0, 0, 4096, 2160
}
Else
{
  WinSet, Style, ^0xC40000, ahk_id %WindowID%
  WinMove, ahk_id %WindowID%, , WinPosX, WinPosY, WindowWidth, WindowHeight
}
WindowState:=!WindowState
return
3. Save the file as 4K resolution.ahk or whichever name you prefer as long as the file extension ending is .ahk
4. Browse to where you saved the file and double click on it.
5. The script is now running in the background, waiting for you to press F12. Pressing once will set the window size to 4096 x 2160. Pressing it again will toggle the window back.
6. Right click the system tray and click exit to turn the script off.

Optional: Edit the script to run even higher resolutions.
Edit 4096 and 2160 at this line to the values you prefer:
WinMove, ahk_id %WindowID%, , 0, 0, 4096, 2160

Instant loading mode in SpaceEngine
There is a semi hidden option of changing the loading method inside space engine. It is insanely resource heavy and will freeze the game if you run out of memory.
Press the forward slash key / to toggle using Immediate, Interleaved or Asynchronous loading modes. (This is the apostrophe key ‘ on Swedish keyboards for some reason btw)
Immediate loading mode will attempt to load directly speeding up loading time. Avoid moving the camera or your position while in this mode! It will quickly queue up your actions in a buffer until your memory is full. (Which tends to freeze the game)
 The sequence of taking high res screenshots

So after reading all this here is my own sequence for taking high res screenshots. Add anything else to this list that you like. If you find easier ways to do this please make sure to share them in the comment section!
1. Open up Graphics settings with CTRL+F4 and set your level of detail LOD to -2.0 before you go exploring.
2. When you find a good location, save it with F6.
3. Press ALT+ENTER to go to windowed mode and the Spacebar to pause time.
4. Configure other graphics settings or magnitudes and exposure menu using F7 to what you prefer.
5. Open up Graphics settings again with CTRL+F4 and set your level of detail LOD to 2.0
6. Press F12 to toggle 4096 x 2160 windowed mode. Expect a very low frame rate.
(At this time its useful to use hotkeys for opening options, since the toolbars are out of screen)
7. Press forward slash / to toggle to immediate loading mode. The game will most like freeze, this is normal so don’t click on anything.
8. Wait for it to finish loading and recover from the freeze. Cross your fingers it doesn’t crash… Grab a coffee or something 🙂
(A good way to tell when it has finished loading is to click an object with the selection pointer visible on screen. If the selection pointer is moving, it has finished loading.)
9. Press F11 to capture a 4K screenshot!
10. Optional: Press SHIFT+C to toggle clouds and press F11 again.
11. Optional: Press SHIFT+A to disable atmospheres and take the last screenshot with F11.
12. Restart because you’re probably out of memory ! (Usually crashes or freezes here for me)
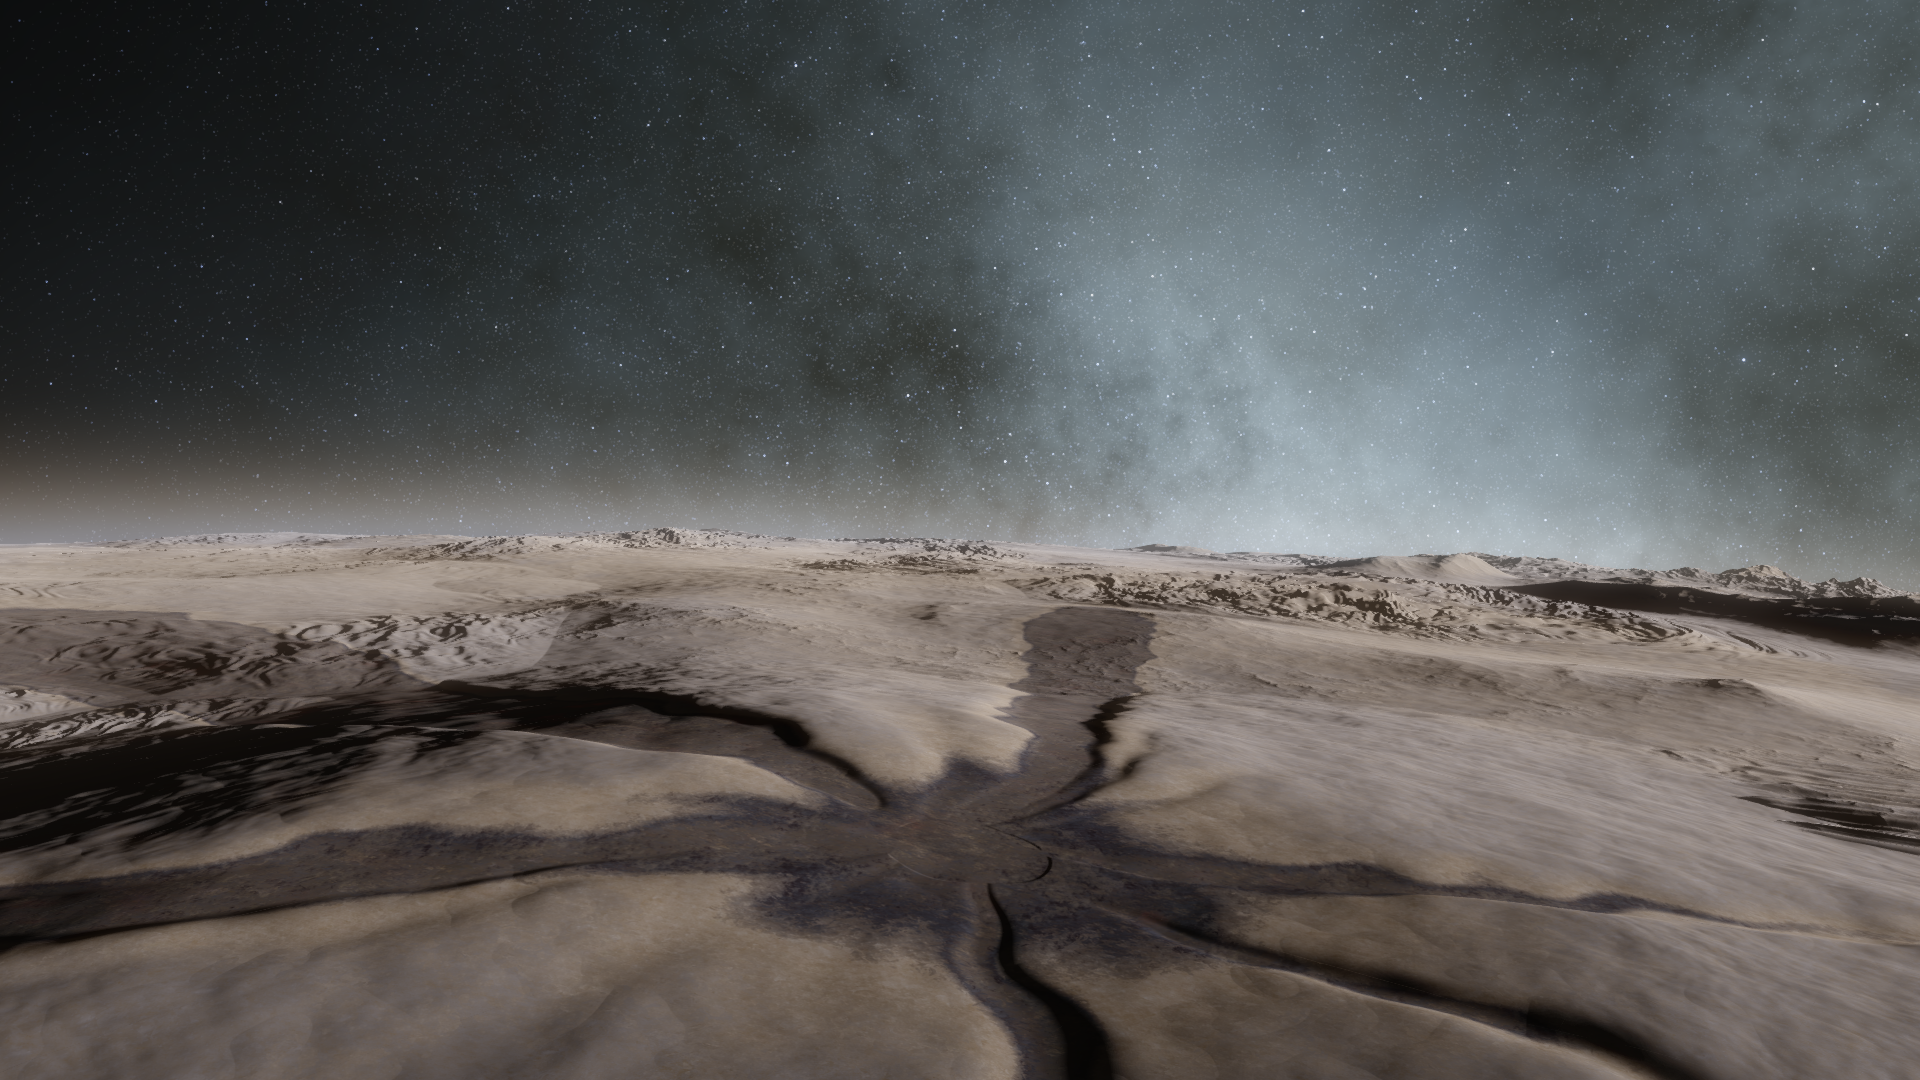
The optional images without atmosphere and clouds are useful if you want to do any post editing. For example placing them in different layers and changing transparency to your liking can be useful if you find beautiful landscapes but atmospheres are too thick and you need to adjust it afterwards.
Here are the results of adding together 3 images into a 4K high res render as described above. I have also added another copy of the layer without clouds or atmosphere; added a glow filter and manually erased parts if it to give it a somewhat glowing effect. Surreal yes, but pretty!
Alien shores lit by a never setting sun – 4096 x 2160 example

End words
If you keep getting crashes or permanent freezes while attempting to follow these instructions I’m sorry to say that your computer might not be up to the task. SpaceEngine can be quite resource demanding.
Here are my current computer specifications for comparison:
i7 870 2.93GHz OC ~3.2GHz
GeForce GTX 470 1280MB
16GB DDR3 1600Mhz
Samsung 840Pro 256GB SSD
If want to know more tricks about SpaceEngine you should go visit the forums!
Happy exploring!
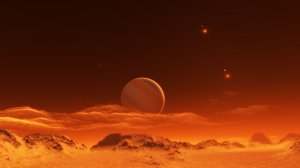
More Space Engine
http://nirklars.deviantart.com/gallery/


OpenGL error troubleshooting (updated 2016-01-11)
If you’ve been following this guide intently you may had crashes and encountered the following error message.
(Or perhaps another similar error message in case you have a ATI graphics card)
To see how you can workaround this click here for the separate post with instructions.


